Showing posts with label Teardrop Trailer. Show all posts

Tuesday, October 21, 2014

THE STORY OF THE TEARDROP TRAILER - PT. 19

IT'S FINALLY DONE!!!  Well, not quite, but they were done enough to start using the trailer.  They registered it the following day after these pics were taken and started pulling it around directly after.  It went with Chris home the very next night and all the final touches were done at his house.
 Installation of the gas lifts was the next step in the project.  Chris did it over the weekend and it fit perfectly on the first try.  The lifts were purchased from a company that had gone out of business and was in the process of liquidating inventory.  They worked great.  He lifted the lid about 12" and the lid slowly opens the rest of the way.  It is easy to put down without any effort at all.  They work better than then the boys ever imagined they would.  
 As you can tell, they had to replace the leather straps on the trunk.  The black genuine leather belt straps broke after the first weekend.  They discovered small print on the belt saying the genuine leather had some man made fibers.  What is really had was a microscopic leather veneer with cardboard interior.  They avoided buying imitation straps the second time.  They also installed some sash locks to pull the lid down tight and keep it secure.
 This is a side view showing how the trailer looks with the trunk complete and closed.  It looks super dusty.  But that's par for the course when it's sitting in the shop.
 The boys installed a lid stay so they could access the box without holding the lid up by hand.  They also put in the battery tie downs so the battery doesn't bounce all over the place.  This pic seems a little strange in it's color because the flash is bouncing.
This is the side view of the completed trailer.  Magnifico!  It looks amazing!  
This pic shows the fold down stabilizers.  There are four, one for each corner.  They will make it nice when the wind blows so you're not rocking all over the place.
This picture shows the undercarriage after it was all sealed with rubberized coating.  They used this coating so it would be easy to re-coat when necessary.

There are still a few minor things left to complete at this stage and they are:
01. Complete the plumbing hook up to the pump.
02. Add a light in the trunk lid.
03. Insulate the ice chest in the front trunk.
04. Complete the oven insulation and slide out.
05. Clean the over-spray off the roof vent.
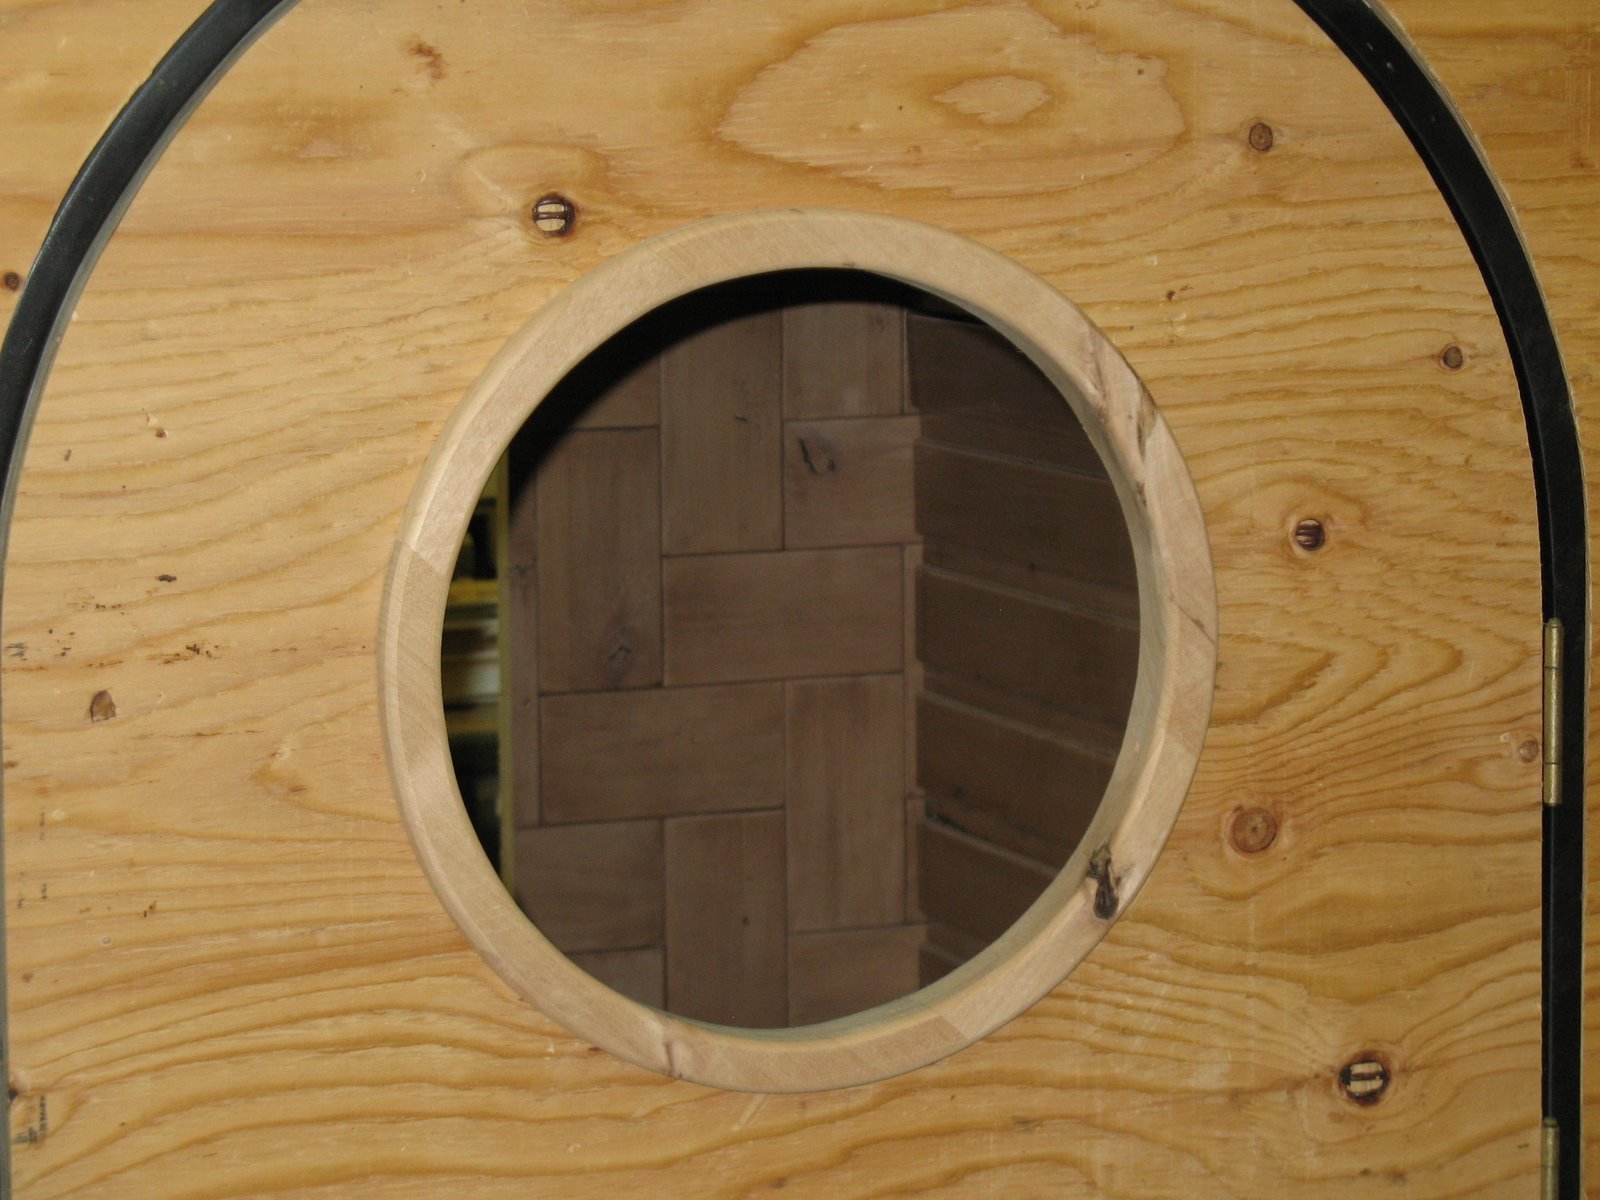
06. Putty, seal and weatherstrip the door frames.

And that will wrap it up.  Chris commented at this point that all they needed was one free morning and everything would be finished.

For those of you who have read the story, maybe you've been lucky and seen the trailer in Utah or surrounding states.  The boys have taken it all over the place.  They've stopped and given a lot of people a closer view.  They wanted to post a blog about trips they've taken with the trailer.

My next entry will show pics from one of these trips.  You'll be able to see the trailer in action!  Goodwin Mill And Cabinet is where you'll find other amazing craftsman pieces similar to the teardrop trailer.  You can see more galleries of our work and check out more information about the guys who built the teardrop trailer by visiting:


Monday, October 20, 2014

THE STORY OF THE TEARDROP TRAILER - PT. 18

This is a picture I think we've used before, but this next post was actually kind of a vacation for the brothers.  A magazine called "Camping Earth" published an online article referring to our trailer.  It created quite a buzz and our website started getting a lot of hits.  Chris used this entry to answer some questions we'd received.  I feel inclined to reprint them just in case any of you have similar questions.

One reader wanted to know how we were cutting our plywood panels.  And Chris said, "We cut our plywood panels with a jig saw.  We cut the first side and then used it as the pattern for the second side.  We then lined them up and screwed them together so that we could use a belt sander to even them up.  We were very careful to cut slowly and stay on the outside of our line.  This allowed us to sand to the line making two perfectly matched sides.  It isn't rocket science though.  If you make a mistake just take a little more off the pattern, no one will ever know."

Another reader inquired about the completion date and Chris said, "Thanksgiving through Christmas is our busy time.  We don't really have time to work on our own stuff until the holidays are over.  We are going to get it licensed before the first of the year.  We have a short list of things we still want to do but none of them would keep us from using the trailer.  We will put pictures and commentary about future trips.  Again, thanks for your interest.

So we had some people following the progression of the trailer.  I was recently contacted by a magazine asking if we'd be interested in posting the story in their online publication.  That's pretty exciting.  

On a sour note, I was recently informed the trailer is currently out of commission based on a car accident.  However, the brothers have vowed to fix it up and get it back on the road.

Come back soon for another entry soon.

Friday, October 17, 2014

THE STORY OF THE TEARDROP TRAILER - PT. 17

 Back again with another installment of the teardrop trailer story.  The next bit of movement on the trailer was hinging the front trunk and strapping it down.  The first pic shows the trunk after it was attached.  At this point, it had been a couple weeks and the boys hadn't been able to do more work because they had other commitments.
This actually completes the outside of the box and really everything that goes on the outside of the trailer.  There were a few things underneath the trailer that needed to be completed, otherwise you're looking at the finished product aesthetically.  
This is a close up pic of the strap buckle.  The boys made these straps from belts.  It was a rather amazing process watching this trailer being built and seeing how they put in all these amazing touches.

As always, it's important to share a link with anyone who admires our workmanship.  Goodwin Mill & Cabinet is a company on the forefront of craftsmanship.  We're constantly trying to be innovative, fresh, exciting and new.  Through our specialty pieces and custom design work, we're always challenging the accepted methods of cabinet making and trying new things.  This teardrop trailer is just an example of the innovation happening in our shop.  


We want to offer our clients the options they want at a good price.  The best way we know how to do that is to continue to learn new ways to manufacture our product, stay open to new designs and create new products to accommodate our customers needs.  Don't hesitate to visit our site and submit your feedback.  We look forward to hearing from you.  Visit us on the web at Http://www.goodwinmillandcabinet.com

Thursday, October 16, 2014

THE STORY OF THE TEARDROP TRAILER - PT. 16

 It's been awhile since we updated the story of the teardrop trailer and in all actuality, the trailer is finished and has seen a lot of use.  But there are still a lot of people looking at the blog posts of this trailer and so we decided to finish the story for you.  Of course we continued to chronicle the construction of this unique trailer and I'll describe what the pictures are showing us.

At this point, the boys covered the top of the trailer with Durabak Truck Liner.  It was messy and as you can see, it wasn't the most professional job but it looks nice.  One of the benefits of this material is that it was extremely forgiving.  They were able to cut off some bad spots and touch it up.  Over all, the boys were happy with the results.  The next step is hinging the front trunk and weather stripping it.  They also plan to attach buckles to keep it closed.  This will allow them to mount the battery permanently and hook it up.

This side view gives you a pretty good idea of how the trailer looks.  You'll have to forgive the look of the shop.  Around that time, we had a storm blow through and it blew all the sawdust out of the bins into the lot and the shop itself.  Then it rained so everything is a sopping mess.
The rear view shows the trunk all completed.  The boys let the Durabak dry over the previous weekend and then weather stripped the inside.  And not soon enough considering the storm that came directly afterward.  There's a short punch list of things to complete but it's close enough to being finished that it can pass inspection and get licensed.  The boys actually pulled it the other day and it tracks very nicely.  At this point, everyone wanted to take it on a trip.  But since winter was setting in, it wasn't exactly the best time to go camping.  

Tune in and we'll continue and finish the story of the teardrop trailer!


And remember to check us out at http://www.goodwinmillandcabinet.com for more information about the company and our products.

Wednesday, July 11, 2012

THE STORY OF THE TEARDROP TRAILER - PT. 15

 More progress this week.  The boys completed the trim on the other side of the trailer and put the finish Automotive lacquer on the two sides.  It's a relief to have the trim done as it took awhile to do.  They only have small things to do now until they get ready to spray the roof.
 Here is a view of the back and the trim that covers the trailer frame.  As you can see, it cleans up the look of the back pretty well.  It also has a bit of a shine to it now.  That will increase once a finish Automotive coat is put on.
 The mattress fits into the sleeping compartment perfectly.  Kent's wife, Fern made a cover for the mattress so it would stay clean.  It looks and feels quite comfortable.  Even just looking at it.

Folding the mattress back exposes the carpet they laid.  It really gave the compartment a finished look.  They still have some tacking to do, but it is officially in and it looks good.

For more information on the teardrop trailer, the Goodwin brothers or Goodwin Mill And Cabinet, you can check out our website online.

Thursday, May 31, 2012

THE STORY OF THE TEARDROP TRAILER - PT. 13

 The holiday provided an extra day to work on the trailer and the boys got quite a bit done.  As you can see they got started on the box for the front of the trailer.  It will be covered with Rhino liner to blend in with the top.
 This is the front view of the box.  The battery will go in the right section.  There is enough room to stack two batteries if they decide to get another one.  The center section will get the ice coolers for the air conditioning, and the left section will hold a propane bottle or other stuff they need to haul.
 They cut in the stove and that required cutting into the sleeping compartment by about a quarter inch.  This pic shows the removable cover.
 This is how the oven and cooktop look set into the counter.  It will be attached to sliders so you can pull it out for cooking.
 Kent got one of the doors hung today.  This next pic is a view from the inside.  They actually have the locking handle on the door but it was done after the pic was taken.
This is how the door looks from the outside.  They haven't put the glass in the frame yet, but will do so during the upcoming week.

And there you have another gallery about the teardrop trailer and how the brothers created this amazing item.  They've recently been approached to build a larger scale trailer by a scout troop.  Whether or not they take the challenge remains to be seen.  But you can start building something you've dreamed of today!  Start by visiting Goodwin Mill And Cabinet online and then setting up your appointment to meet with a designer today.  They'll help you build your dreams.  

Wednesday, May 16, 2012

THE STORY OF THE TEARDROP TRAILER - PT. 12

 Here are some pictures of some of the things the boys did on the trailer today.  First off they insulated the roof and completed the skin on the roof.  They also fastened the roof fan in place after applying some water proof mastic.
 You can see in the second pic the front of the trailer.  You will notice the little black square and the white pipe.  That's the fan and air inlet for our cooler.  When we get the box on the front it will have a space for ice.  The fan blows air into the ice chest and up through the pipe and into the trailer.  It is supposed to cool the room up to 30 degrees.
 Next is the DVD player.  It is wired up and working now.  It hangs in the little tray on the door and can be tilted to the proper viewing angle.  You can see the 12 volt outlet in the ceiling.  It can work off the trailer battery of the DVD battery.
 The next photo shows the front of the cooling system.  The large grill on the right is the outlet fan, and the grill on the left is the inlet.  In the middle is the switch to turn it on or off.
The last pic shows the plumbing for the sink.  The water drains out the bottom of the trailer to a bucket for disposal.  We will be working on the trailer again soon.  Kent will be working on the doors while Chris tries to complete everything in the hatch.  As always, you can read more about the exciting world of Goodwin Mill And Cabinet at the website.  Just follow the link.  Maybe you want a teardrop trailer too.

Tuesday, April 24, 2012

THE STORY OF THE TEARDROP TRAILER - PT. 11

 The boys had a lot of fun this weekend working on the trailer.  (Friday and Saturday).  It may not show, but they got a lot done.  Not as much as they hoped but good stuff.  First of all they ran the wiring for the

 side markers, side lights, and tail lights.  This then made it possible to glue on the veneer siding.  It really went on well.  With that in place they received the fenders last week so they painted and installed them.  It

 really gives the trailer a solid look to have them in place.  The color of the siding and the accents will be like the inside of the sleeping area.  Cinnamon sugar paneling black burnout trim.  You can see in this

 picture that they have installed the shore inlet so that they can have 110 volt power in the trailer.  Over the next few weeks they believe they will make a good showing on the outside and it is going to be good progress.


Their next objective this weekend is to get the wiring done, and they did it.  It was hectic and they had to do trial and error but they figured it out.  It was fun when they plugged it in and all the lights came on.  Even more fun when the lights running off the battery came on.  They installed the heater and hooked it up and also installed the outlet where the DVD player will fit.  It feels good to have this done.  They can now get on with the wood stuff that they understand.


The next picture shows the power converter installed in the galley.  They wanted it readily accessible and it needs ventilation.

The tail lights are working but they're not ready to install the hatch quite yet.

Keep checking back to hear more about the teardrop trailer and it's progress.  To learn more about Chris and Kent Goodwin, visit Goodwin Mill And Cabinet.


Friday, April 13, 2012

THE STORY OF THE TEARDROP TRAILER - PT. 10

As always, you can read more about the brothers and their business at Goodwin Mill And Cabinet. The boys installed the jack stand for the front of the trailer. It will be nice not to have to drag a bucket around to rest the tongue on. This is detachable because they are adding a storage box on the front that will prevent them from folding it up.

They also acquired a ceiling fan and
installed it. They are currently wiring all the electrical stuff so they needed it in place to wire. They painted the frame black so it would match the other interior items and trim.

They also installed the sink faucet and water pump. The water inlet came the other day so they should be able to hook up the plumbing in the next available working days.


They are hoping to complete the wiring so they can put the side paneling on the outside of the trailer this next week. They think they will be better off once they get back to the wood things that they understand.

Wednesday, April 4, 2012

THE STORY OF THE TEARDROP TRAILER - PT. 9

The boys schedule this weekend did not include very much time to accomplish much, so they concentrated on the little things that needed to be completed. They built and installed the face and doors for the electrical chase. They also built the shelves for the cabinets and installed missing drawer hardware, handles and roller catches so the doors would stay closed.

They also started installing the light
fixtures. When they got the wire run to them, they touched the wires to a 12 volt battery from a drill and lights came on. It was amazing that these little lights flooded this small room. They were happy to know that it was enough lighting to get the job done.

In the lighting pictures you can see how the lights were mounted and that they are directionally adjustable. Although probably not necessary in such a small
space, it's still nice to have the ability to focus light where you need it most. In the first picture, you can see the lights mounted under the cabinetry while in the second photo you can see some where mounted directly on the ceiling.

Kent purchased the oven and cook top they were planning on because they wanted to make sure it all fit. It does have a couple of problems, but Chris thinks they will be able to adjust to
make it work. These pictures show it with the top closed and with it up. It will sit on a rolling tray so it can be pulled out for use. They were hoping that the oven could be used right in place but the heat requirements mandate it to be pulled out.

Additionally, they started the wiring of the power converter. It took a little while to figure out but it is coming now. The boys are appreciative of the people
who have posted their own information on the web. These experiences have helped the boys make their decisions and have made the job much easier.

If you're interested in learning more about Chris Goodwin, Kent Goodwin and their business, you can follow the link Goodwin Mill And Cabinet to read more about them. You can also find more entries about the tear drop trailer and other work we are currently doing. Check back for more updates soon.

Tuesday, March 20, 2012

THE STORY OF THE TEARDROP TRAILER - PT. 8

So more on the teardrop trailer... The boys glued and screwed the skin on the outside of the hatch. It went on pretty well and then they filled the screw holes and little cracks in the wood with bondo. When it is all sanded, they will re-install it to make sure it still fits. They are going to cover the lid and roof with Rhino liner. It is rubbery so it will flex with the trailer as well as providing a completely waterproof roof. This pic shows Kent working on the skin of the outside hatch.

This next picture shows how the lid looks when they temporarily installed it to the trailer. This side view shows the complete shape of the trailer and the skin is the lighter colored wood covering the darker wood body. The tail lights and back handle were also temporarily installed. Just for the sake of seeing what it would look like.


The next photograph shows the tail-end straight on. You get a better view of the tail lights and the handle.

At this point, you have a general idea of how it will look when it's complete. Of course there's been no color added or finish work completed. It still has the natural wood color to it. All of that will change soon, once the brothers decide what color it should be.


While Chris was working on the hatch Kent began the work on the round windows. You can see the frame he milled for the outside of the window in this picture.

They also scewed in the shelf in the sleeping compartment today. The lights fit in the little round discs on the bottom. This will be handy to put keys, wallets and such when you get ready
to retire for the night. The lights are swivel lights and may be installed later today.

You can learn more about Goodwin Mill & Cabinet by going to Goodwin Mill And Cabinet.


Check back for more information on building the teardrop trailer.

Monday, March 19, 2012

THE STORY OF THE TEARDROP TRAILER - PT. 7

The brothers did get a little time this weekend to work on a few things. Kent continued to work on the side doors. This view shows the trim painted black and inserted in the opening. He also has the frame for the other side made and fit into the opening. As you can see he has cut the opening for the round window. Kent is a real craftsman and has done a great job with the doors and paneling. He also has a great sense of color.

While Kent was working on the doors, Chris started on the hatch door. It is a challenge to make but he thinks it's starting to turn out ok. He put the top and bottom rails together and then screwed the frame where he wanted it. Next, he installed the remaining spars and corner blocks to make it ridged. You can see that he framed the openings for the tail lights also.

Here is another view of the hatch door raised up. When Chris was ready to lift it he removed the screws that held it in place and it remained in it's original shape and appears to be working pretty well. They will be installing the skin on the outside shortly and running wires to the lights.

Check back for more details on the story of the teardrop trailer and go to Goodwin Mill And Cabinets to learn more about ordering cabinets for your own personal projects and custom builds.