 So more on the teardrop trailer... The boys glued and screwed the skin on the outside of the hatch. It went on pretty well and then they filled the screw holes and little cracks in the wood with bondo. When it is all sanded, they will re-install it to make sure it still fits. They are going to cover the lid and roof with Rhino liner. It is rubbery so it will flex with the trailer as well as providing a completely waterproof roof. This pic shows Kent
  working on the skin of the outside hatch.
This next picture shows how the lid looks when they temporarily installed it to the trailer. This side view shows the complete shape of the trailer and the skin is the lighter colored wood covering the darker wood body. The tail lights and back handle were also temporarily installed. Just for the sake of seeing what it would look like.

The next photograph shows the tail-end straight on. You get a better view of the tail lights and the handle.
At this point, you have a general idea of how it will look when it's complete. Of course there's been no color added or finish work completed. It still has the natural wood color to it. All of that will change soon, once the brothers decide what color it should be.
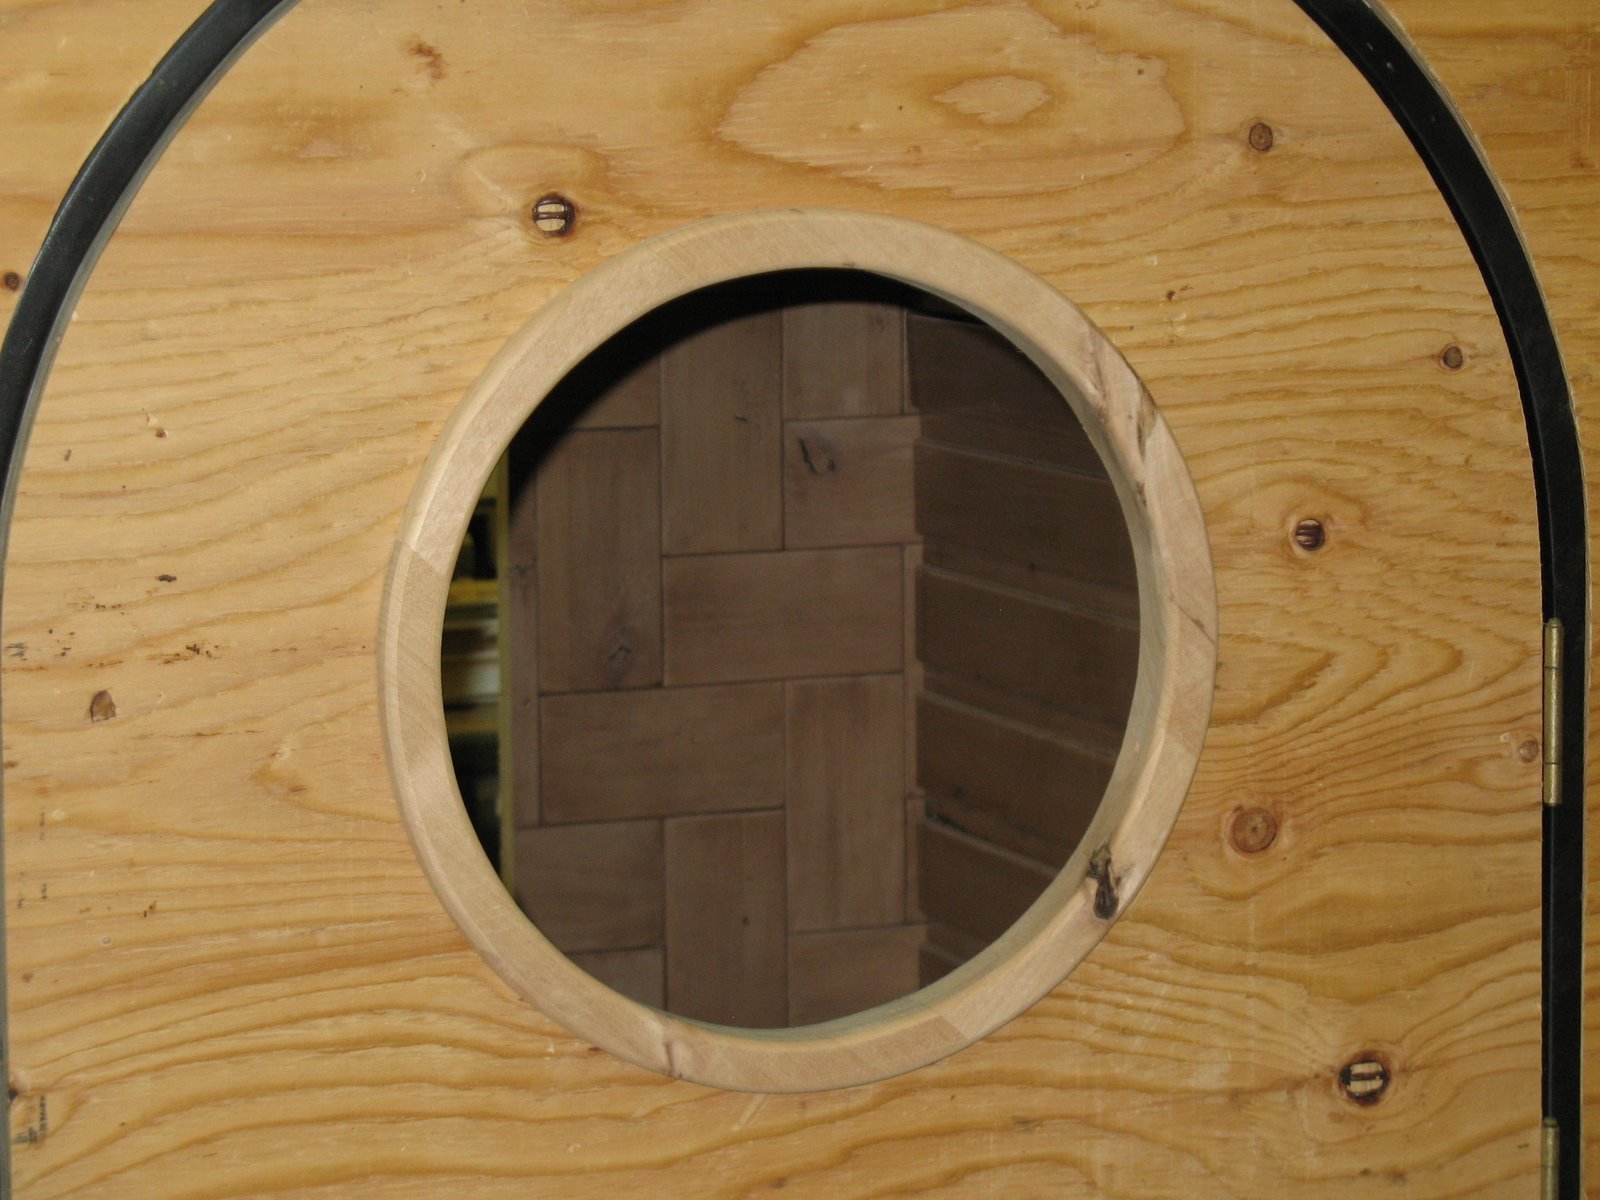
While Chris was working on the hatch Kent began the work on the round windows. You can see the frame he milled for the outside of the window in this picture.
They also scewed in the shelf in the sleeping compartment today. The lights fit in the little round discs on the bottom. This will be handy to put keys, wallets and such when you get ready
 to retire for the night. The lights are swivel lights and may be installed later today.
You can learn more about Goodwin Mill & Cabinet by going to Goodwin Mill And Cabinet.
Check back for more information on building the teardrop trailer.
No comments:
Post a Comment